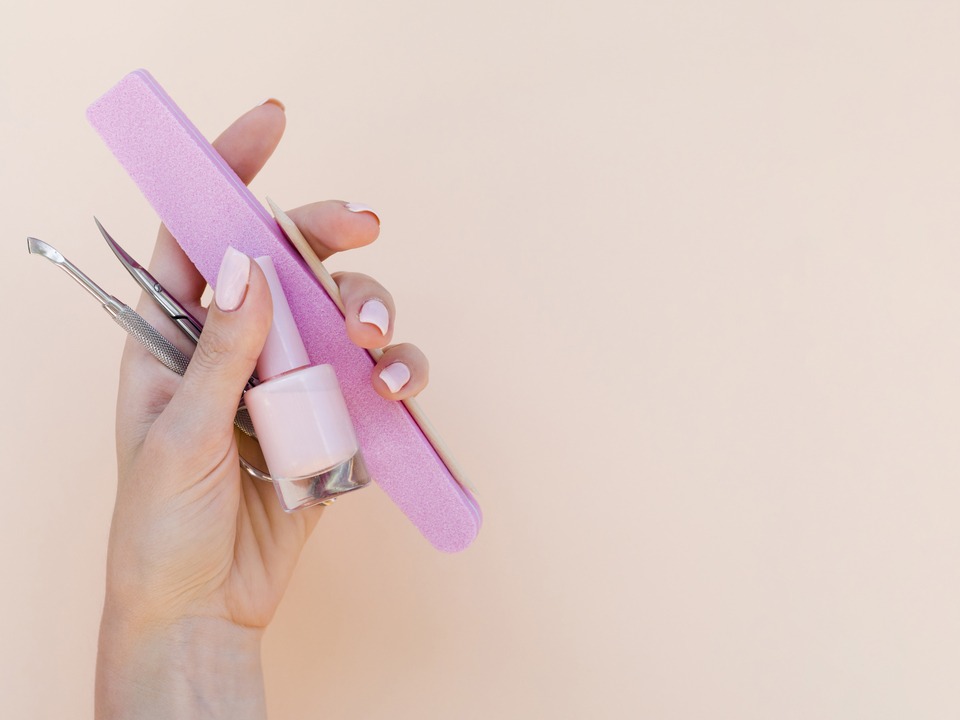
A lady must always have some drops of perfume on her neck, lipstick on her lips and nails with complementing nail polish, correctly done. As picking the favourite perfume and lipstick is not a hard thing to do, I will be focusing on the last part of the equation – the nails. Going to the nail salon regularly might and will cost you lots of money, time, and energy. Instead, you should learn how to take care of them at home. To help you out, here is a simple step by step guide to having perfect nails.
1. Regular Maintenance
What is regular maintenance? For great results, it should be once a week – a complete cleaning, trimming, and polishing session, usually before the weekend starts (so that you have fresh-looking nails on your going out, that is). In case a nail chips or the nail polish fades away, don’t wait the term you have set before, act instantly and change the plan. After all, you will see how often should you repeat the process. It all depends on how fast your nails grow and the quality of the nail art kit you use.
2. Removing Old Nail Polish

The 1st step is to remove the old nail polish. Use non-acetone nail polish remover, optimally based on oil. Avoid the acetone ones because acetone is a strong chemical that weakens the surface of the nails, makes the fragile and breakable, plus it manages to change the natural colour of the nails. Once you remove the nail polish, wash your hands with soap and dry them with a towel.
3. Trimming, Filing, and Cuticles
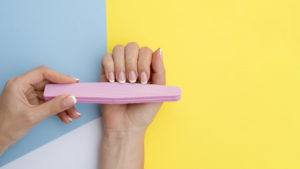
The next step is the trimming process. Trim the nails with a sharp nail trimmer to the length you want them to be. Make sure you keep the old shape, or if you want to change, experiment with a new one. Then use a four-sided file, starting with the number 1. File your nails but not in a saw-like movement. Gently file under the nails and above to define the shape of the nails. Then, use number 2 to smooth the surface of the nails. Number 3 is to buff the nails. Do it in an X shape using unidirectional strokes. Finally, number 4 is to polish by giving them their natural shine.
Then, take care of cuticles with a cuticle stick. Don’t think about cutting the extra skin because by doing it, you leave the area open to bacteria and infections. Instead, use the stick to push the cuticles. Just be careful not to push too aggressively because you might end up feeling pain and have bleeding nails. After this, use hand cream about nails and cuticles and massage a pea amount of it thoroughly all over the hands and nails. Leave the cream to absorb in 20 to 30 minutes, and then you are ready for the next step.
4. Polishing the Nails
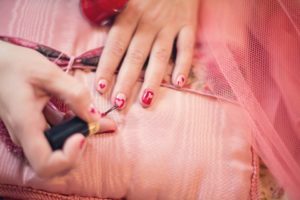
Choose a healthy option of nail polish if you want your nails to have a flawless look and your general health to remain intact. There are 7-free nail polishes that, as the name suggests, are free of the seven hazardous chemicals usually found in the formulas of nail polishes. Pick a colour you want, dip the brush in the bottle, and if it is too liquid, gently press the side of it on the top part of the bottle. Start applying the nail polish in the middle of the nail and then apply two more strokes from the left and the right of the nail. Once you do the first layer, wait for a couple of minutes to apply a second layer if you want a more intensive look. Do the second layer and leave them to dry naturally.
Don’t use any tricks for drying the nails because, in most cases. They won’t work, and you will only risk it to mess it up. Finally, you can apply a shining, top coat to seal the look.